


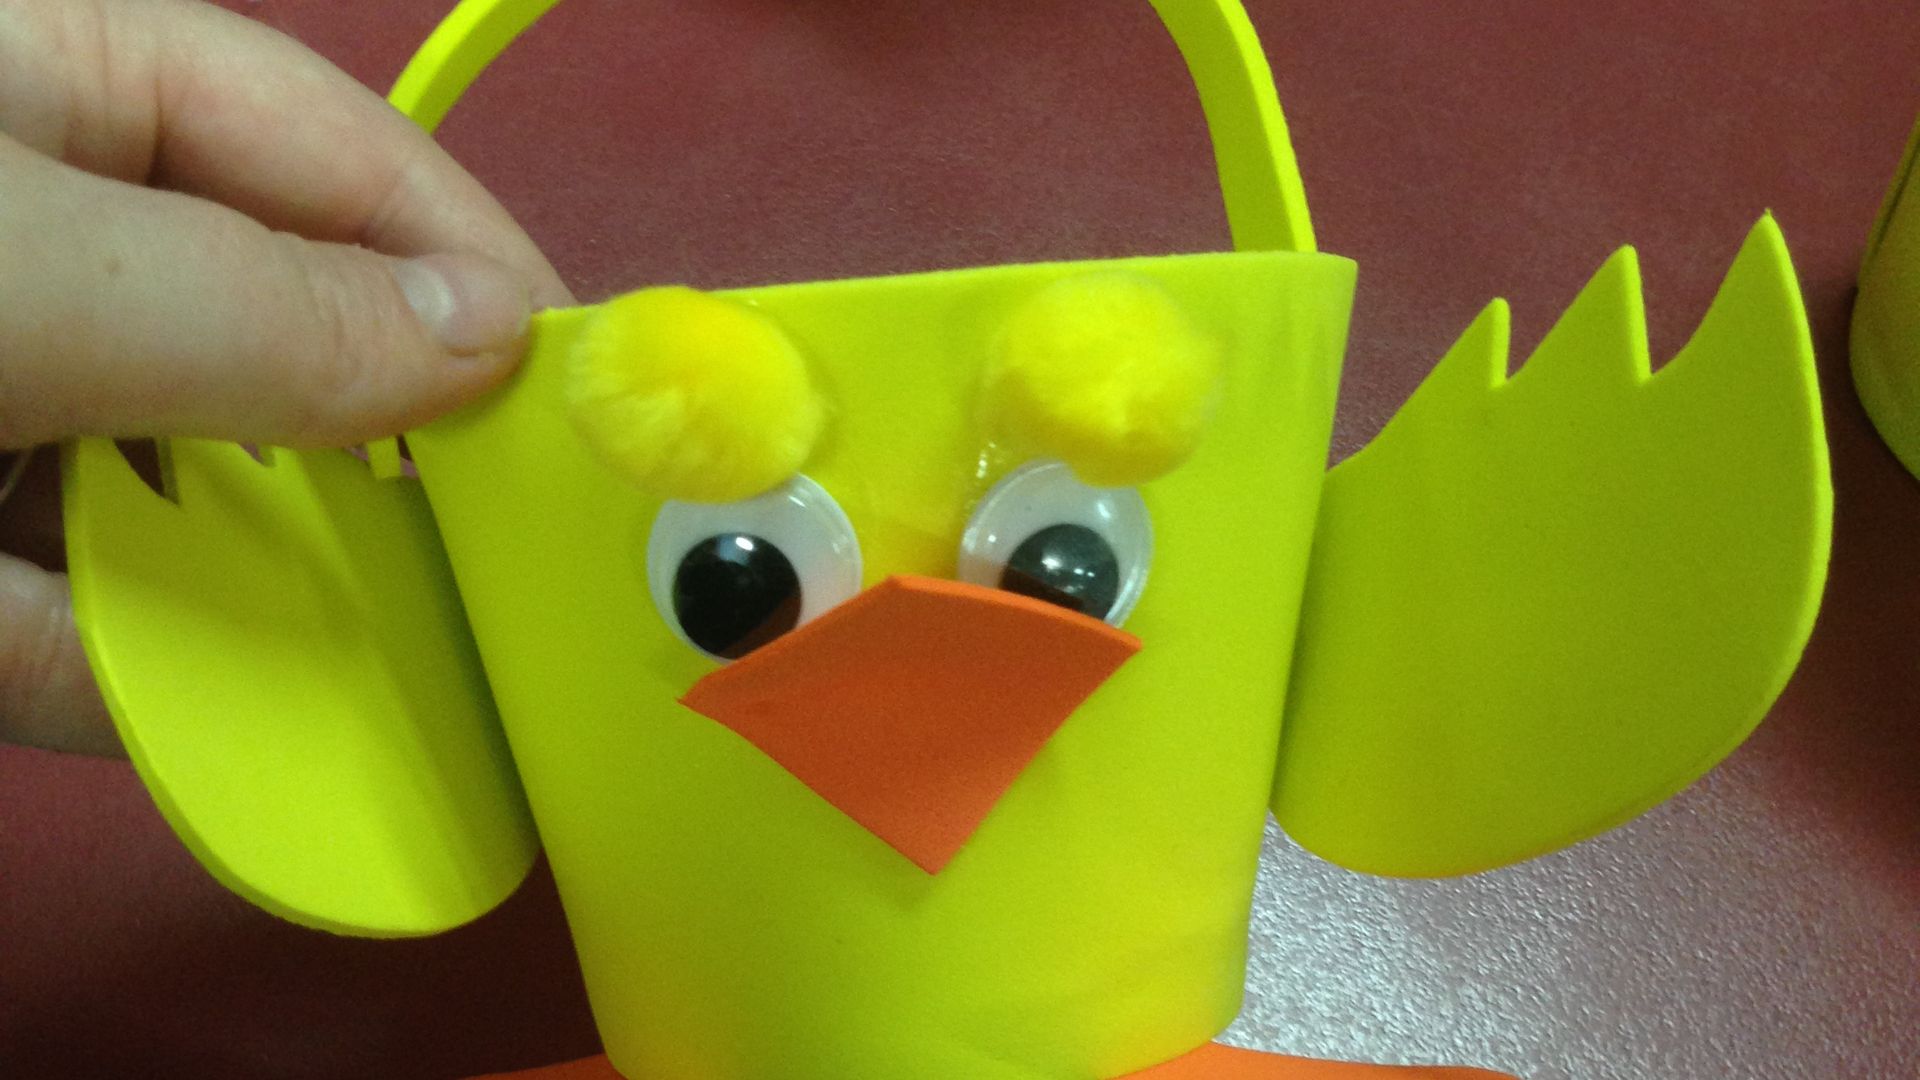
An adorable finished Chicken Basket:
Our craft packs have all you need and you can add any embellishments of your choice.
You can purchase this pack HERE.
Or, if doing this activity with your class, you can purchase it in bulk using our easter quicklist.
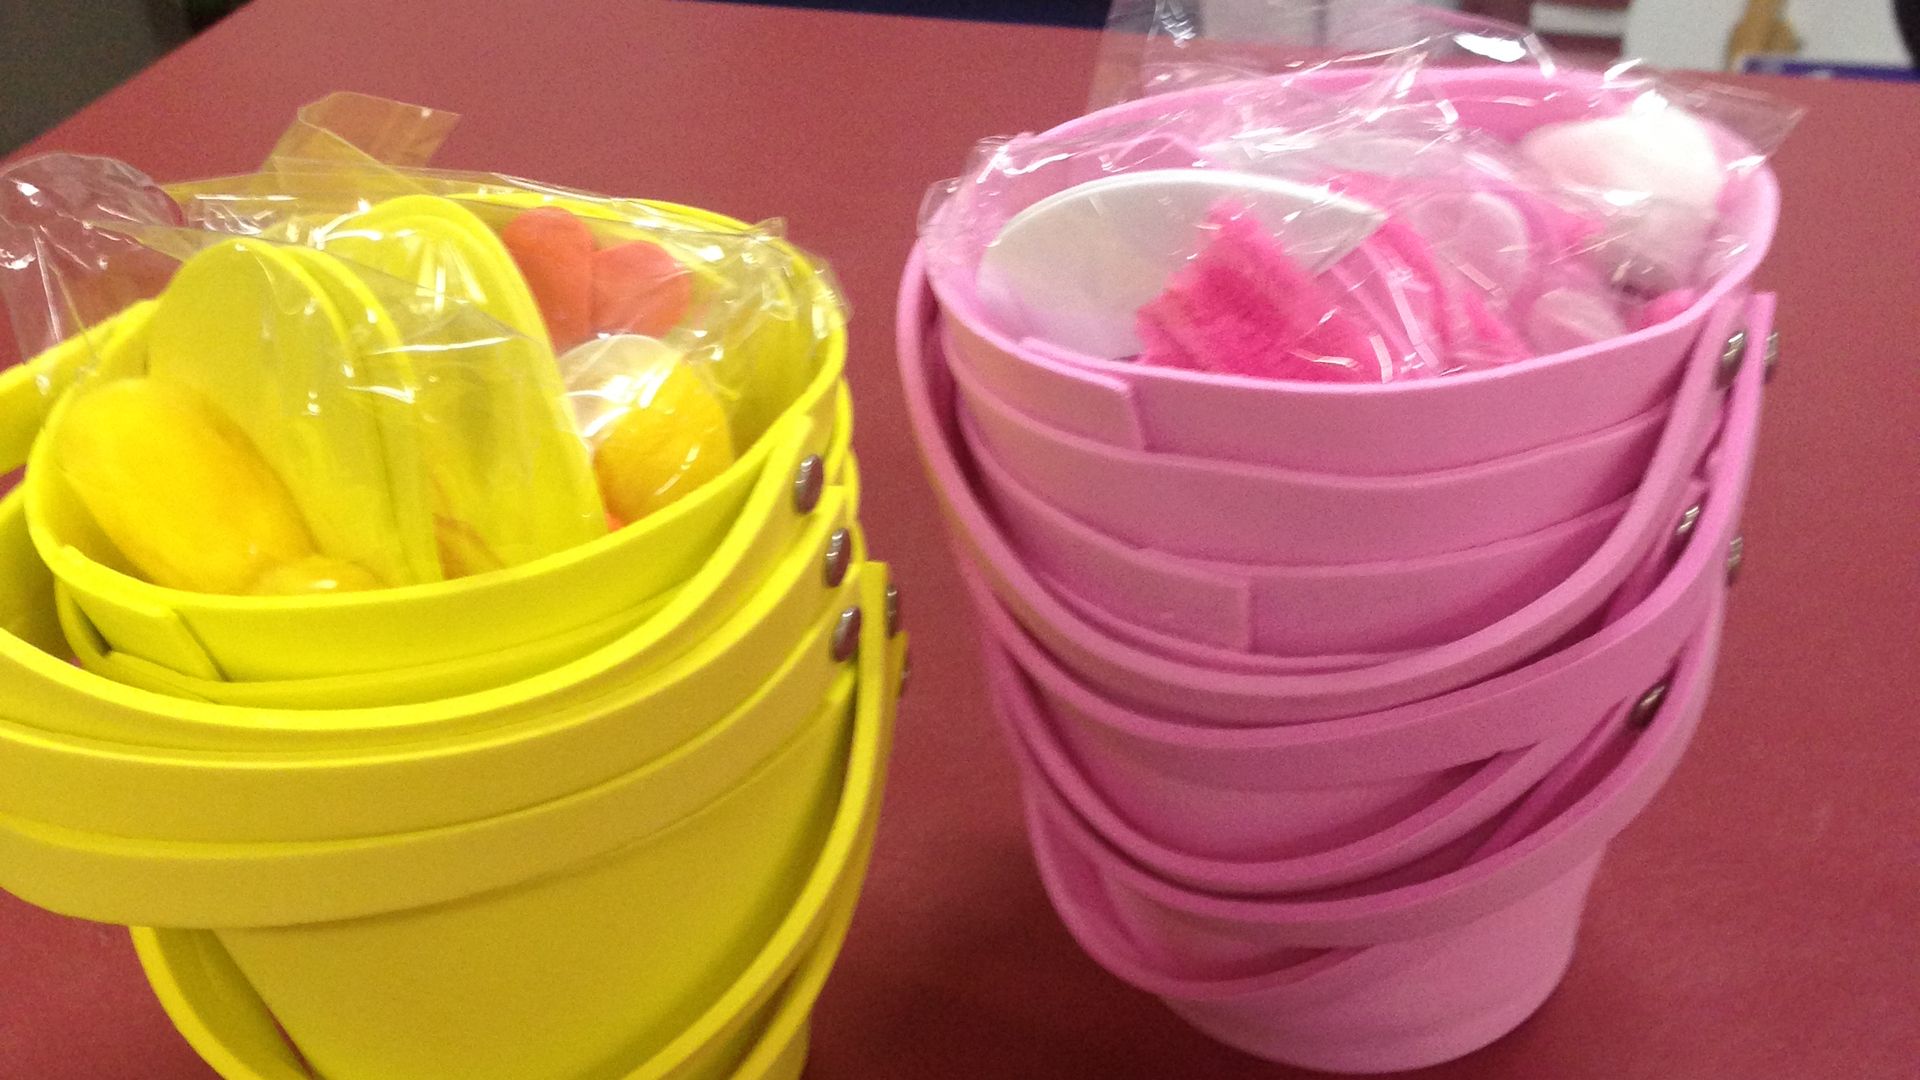
STEP 1: Begin with one basket and set of chick embellishments.

STEP 2: Separate out your embellishments ready to assemble your basket.

STEP 3: Apply PVA glue to attach the feet.

STEP 4: Turn the basket upside down to attach the feet to ensure that the glue will hold.

STEP 5: Glue on the joggle eyes, wings and beak.

Feel free to glue on any other craft embellishments of your choice, from pom poms to feathers. Once dried, you will have a completed cute Easter Chick Basket.
