


Our finished Easter Bunny.

Our Easter Bunny Packs can be used alongside any other craft items of your choice. You can purchase this pack HERE.

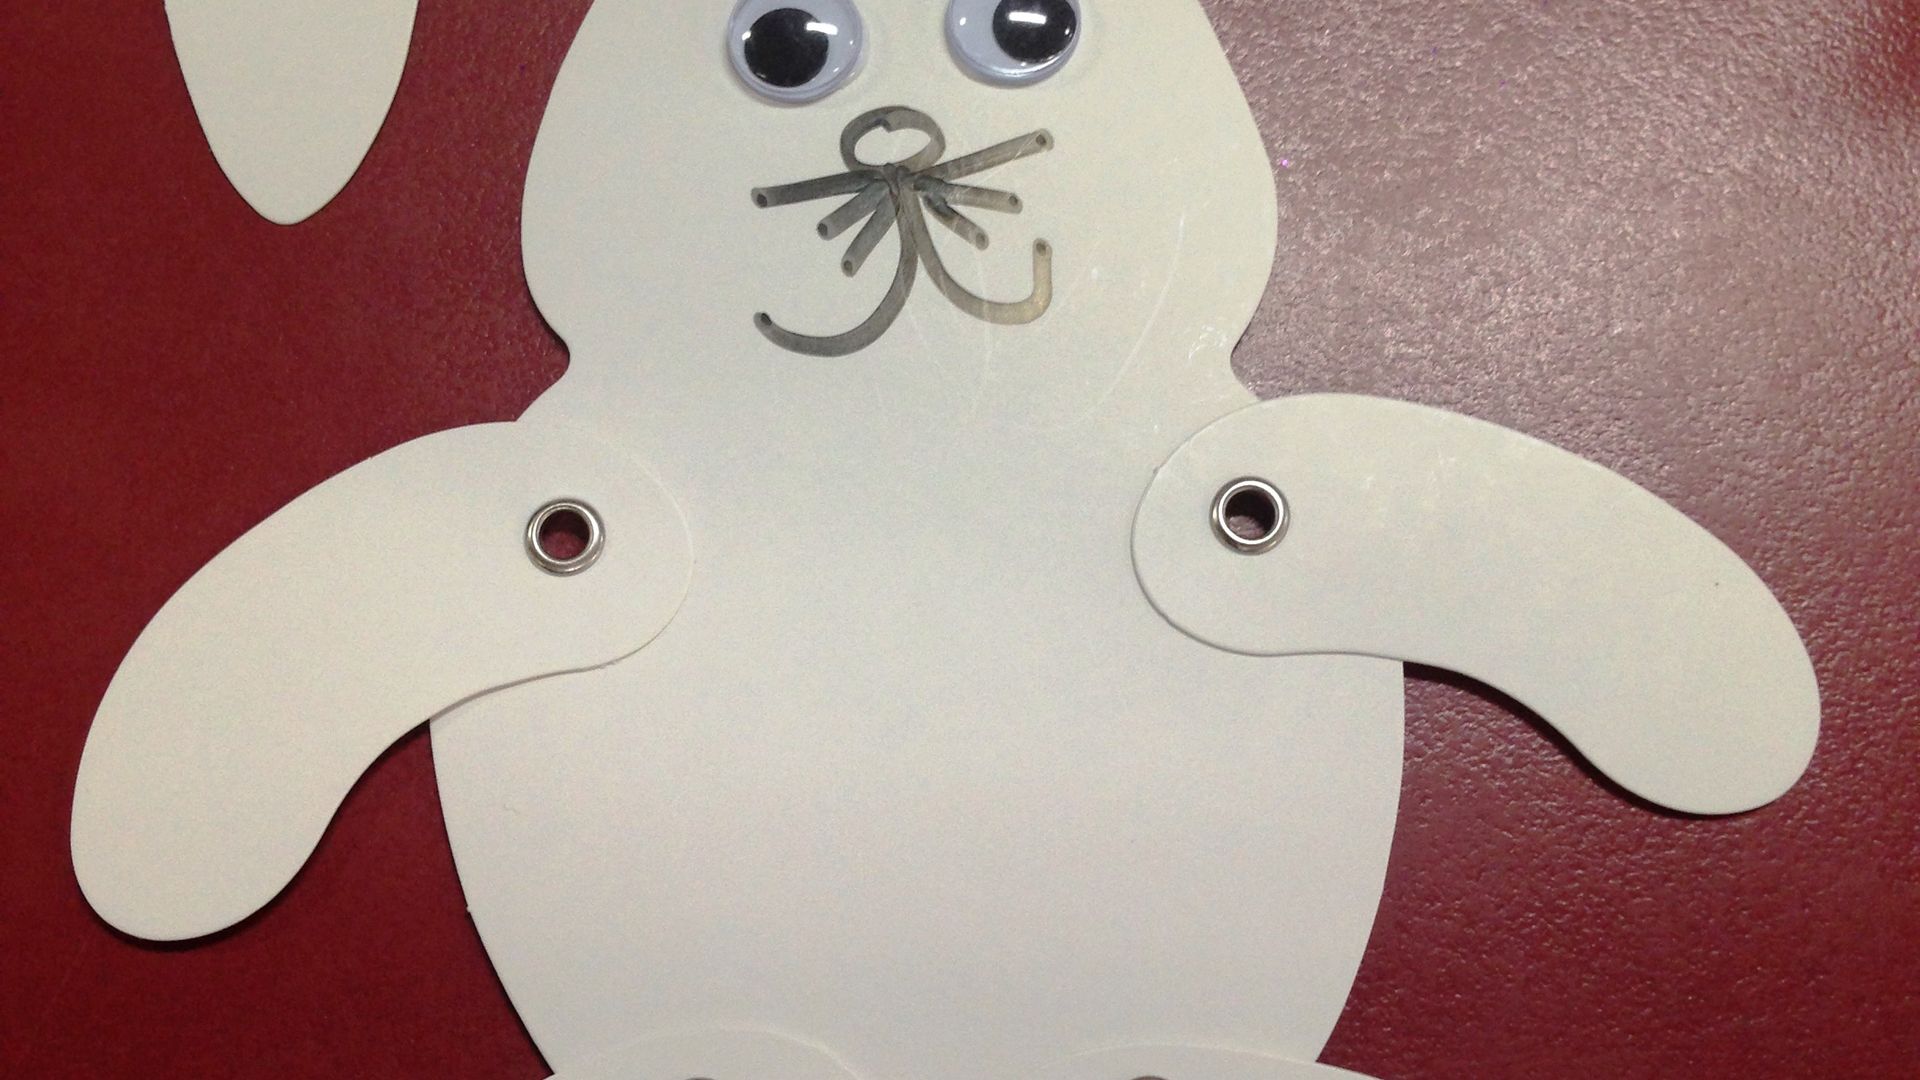
STEP 1: Starting with your blank Bunny.

STEP 2: Glue joggle eyes on using your PVA glue.

STEP 3: Draw ears and a face.
STEP 4: Apply PVA glue to the nose, belly, ears and anywhere else you would like to add glitter.

STEP 5: Shake glitter onto the PVA-coated areas.

STEP 6: Paint or colour in the rest of the bunny using crayons, pencils or texta.

Apply PVA glue to add some finishing touches - brighten up your bunny with glitter, pom poms, cotton balls, crepe paper or any other craft embellishments where desired. Leave it to dry and you have finished your gorgeous and unique Easter Bunny!
